For centuries, hair oils have been the hair care routine around the world. Not only do they provide essential moisture and nourishment, but they can also be formulated to address specific hair concerns like dryness, frizz, or hair loss. However, commercially available hair oils can be expensive and full of unknown ingredients. So, Creating your own hair oil blend at home is surprisingly simple and it is harmful to hair.
Hair oil Preparation

Choose Your Carrier Oil: The base of your hair oil is the carrier oil.
Popular options include:
- Jojoba oil: Mimics the scalp’s natural sebum, making it great for all hair types.
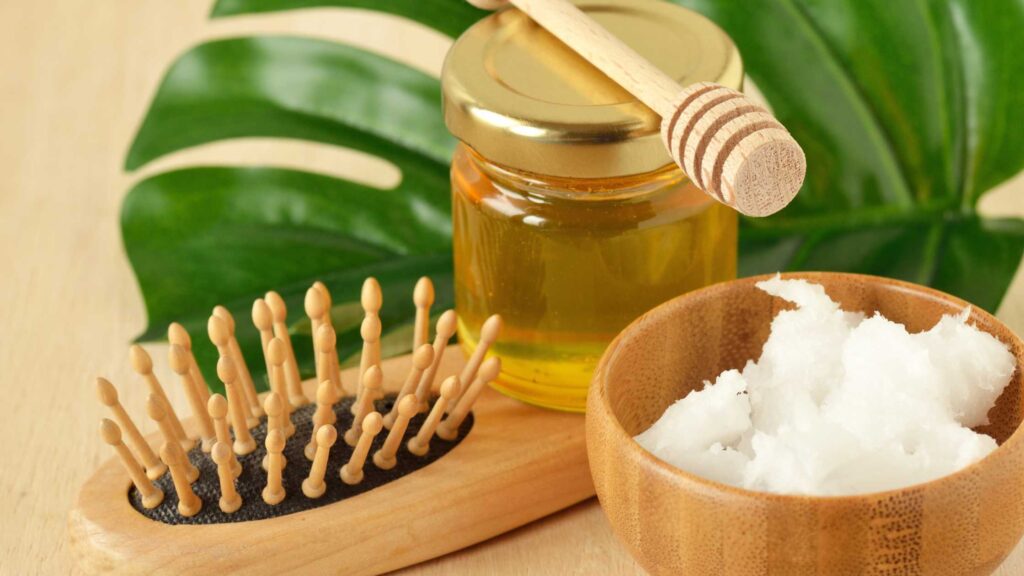
- Coconut oil: Rich in lauric acid, it penetrates the hair shaft deeply and is ideal for dry, coarse hair.
- Argan oil: Packed with vitamin E and antioxidants, it tames frizz and adds shine.
- Sweet almond oil: Lightweight and easily absorbed, it’s perfect for fine hair.
Select Your Powerhouse Ingredients:
- For hair growth: Rosemary essential oil, peppermint essential oil.
- For dry hair: Avocado oil, castor oil.
- For dandruff: Tea tree oil.
- For shine: Amla oil.
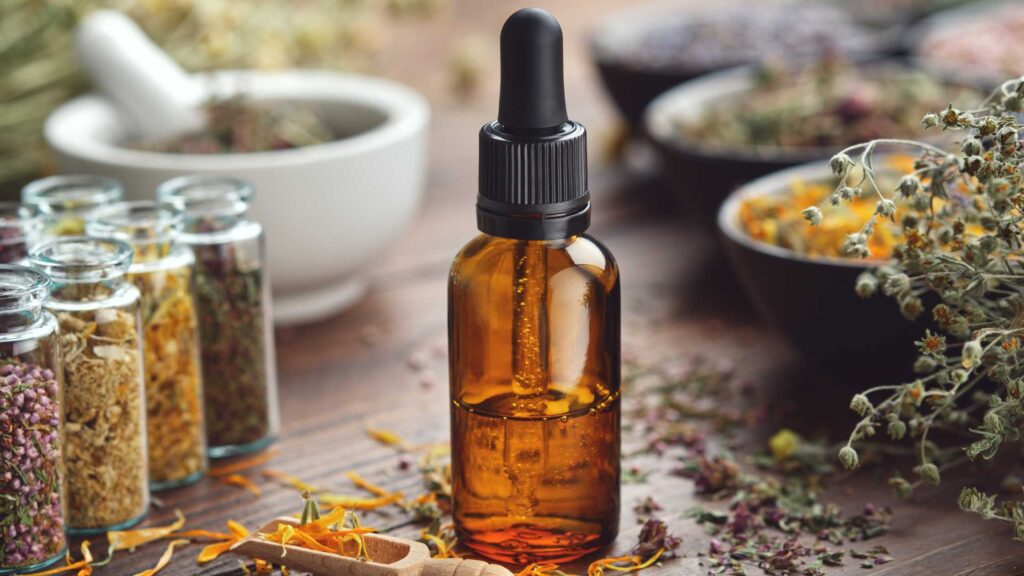
- Measure and Mix: A good rule of thumb is to use 1 ounce of carrier oil to 5-10 drops of essential oil(s). Gently mix the ingredients in a dark, glass dropper bottle.
- Let it Infuse (Optional): For a more potent oil, some herbs and flowers can be infused into the carrier oil. Simply add dried herbs like rosemary or chamomile to your carrier oil and let it sit in a warm place for a few weeks. Strain the herbs before adding essential oils.
- Label and Store: Label your creation with the ingredients and date. Store your hair oil in a cool, dark place for up to 6 months.
Precautions to Take When Using Homemade Hair Oil
Remember, even natural ingredients can cause sensitivities. Here are some precautions to take:
Patch test: Before applying the oil directly to your scalp, do a patch test on a small area of your inner arm. Wait 24 hours to check for any irritation.
Start slow: Begin with using the oil once a week and gradually increase frequency as needed.
Don’t overdo it: Applying too much oil can weigh down your hair. A few drops massaged into the scalp and ends is sufficient.
Tips for Using Your Homemade Hair Oil for Maximum Benefit.

Here are some handy tips to get the most out of your DIY hair oil:
- Warm it Up (Optional): Slightly warming your hair oil before application can improve absorption. You can place the dropper bottle in a warm water bath for a few minutes.
- Scalp Massage: Focus on applying the oil to your scalp. Section your hair and use the dropper to distribute a few drops of oil onto your scalp. Use your fingertips to gently massage the oil into your scalp, working from the front of your hairline to the back of your head. Massaging stimulates blood circulation and promotes hair growth.
- Apply to Hair Ends (Optional): Depending on your hair type and the oil’s weight, you can also apply a small amount of oil to the ends of your hair. This helps to add moisture and prevent split ends. Be mindful of not applying too much, especially to fine hair, as this can weigh it down.
- Leave-in Treatment or Pre-poo: There are several ways to use your hair oil depending on your desired results. You can use it as a leave-in treatment by applying a small amount to damp hair and letting it air dry. Alternatively, you can use it as a pre-poo treatment by applying it to your hair before shampooing. This helps to deeply condition your hair and protect it from the drying effects of shampoo.
- Overnight Treatment (Optional): For an extra boost of moisture and nourishment, you can apply the oil to your hair and scalp before bed and leave it on overnight. Wash your hair thoroughly in the morning to remove any residue.
Conclusion
Homemade hair oil offers a wealth of benefits for your hair and scalp.